Full HVAC Replacement and Installation: Carrier Performance Series System with Precision Setup Atlanta, GA

1. Removing Existing Units and Components:
Before anything, make sure to disconnect and safely remove the old units, including refrigerant recovery from the AC system. Proper disposal of refrigerants and any other harmful materials is a must.
2. Install New Pad and Outdoor Unit:
The pad needs to be level and stable. Make sure there’s proper clearance around the outdoor unit for airflow. Check the manual for the recommended distance from the wall and any obstructions.
Secure the outdoor unit on the new pad once it’s positioned correctly.
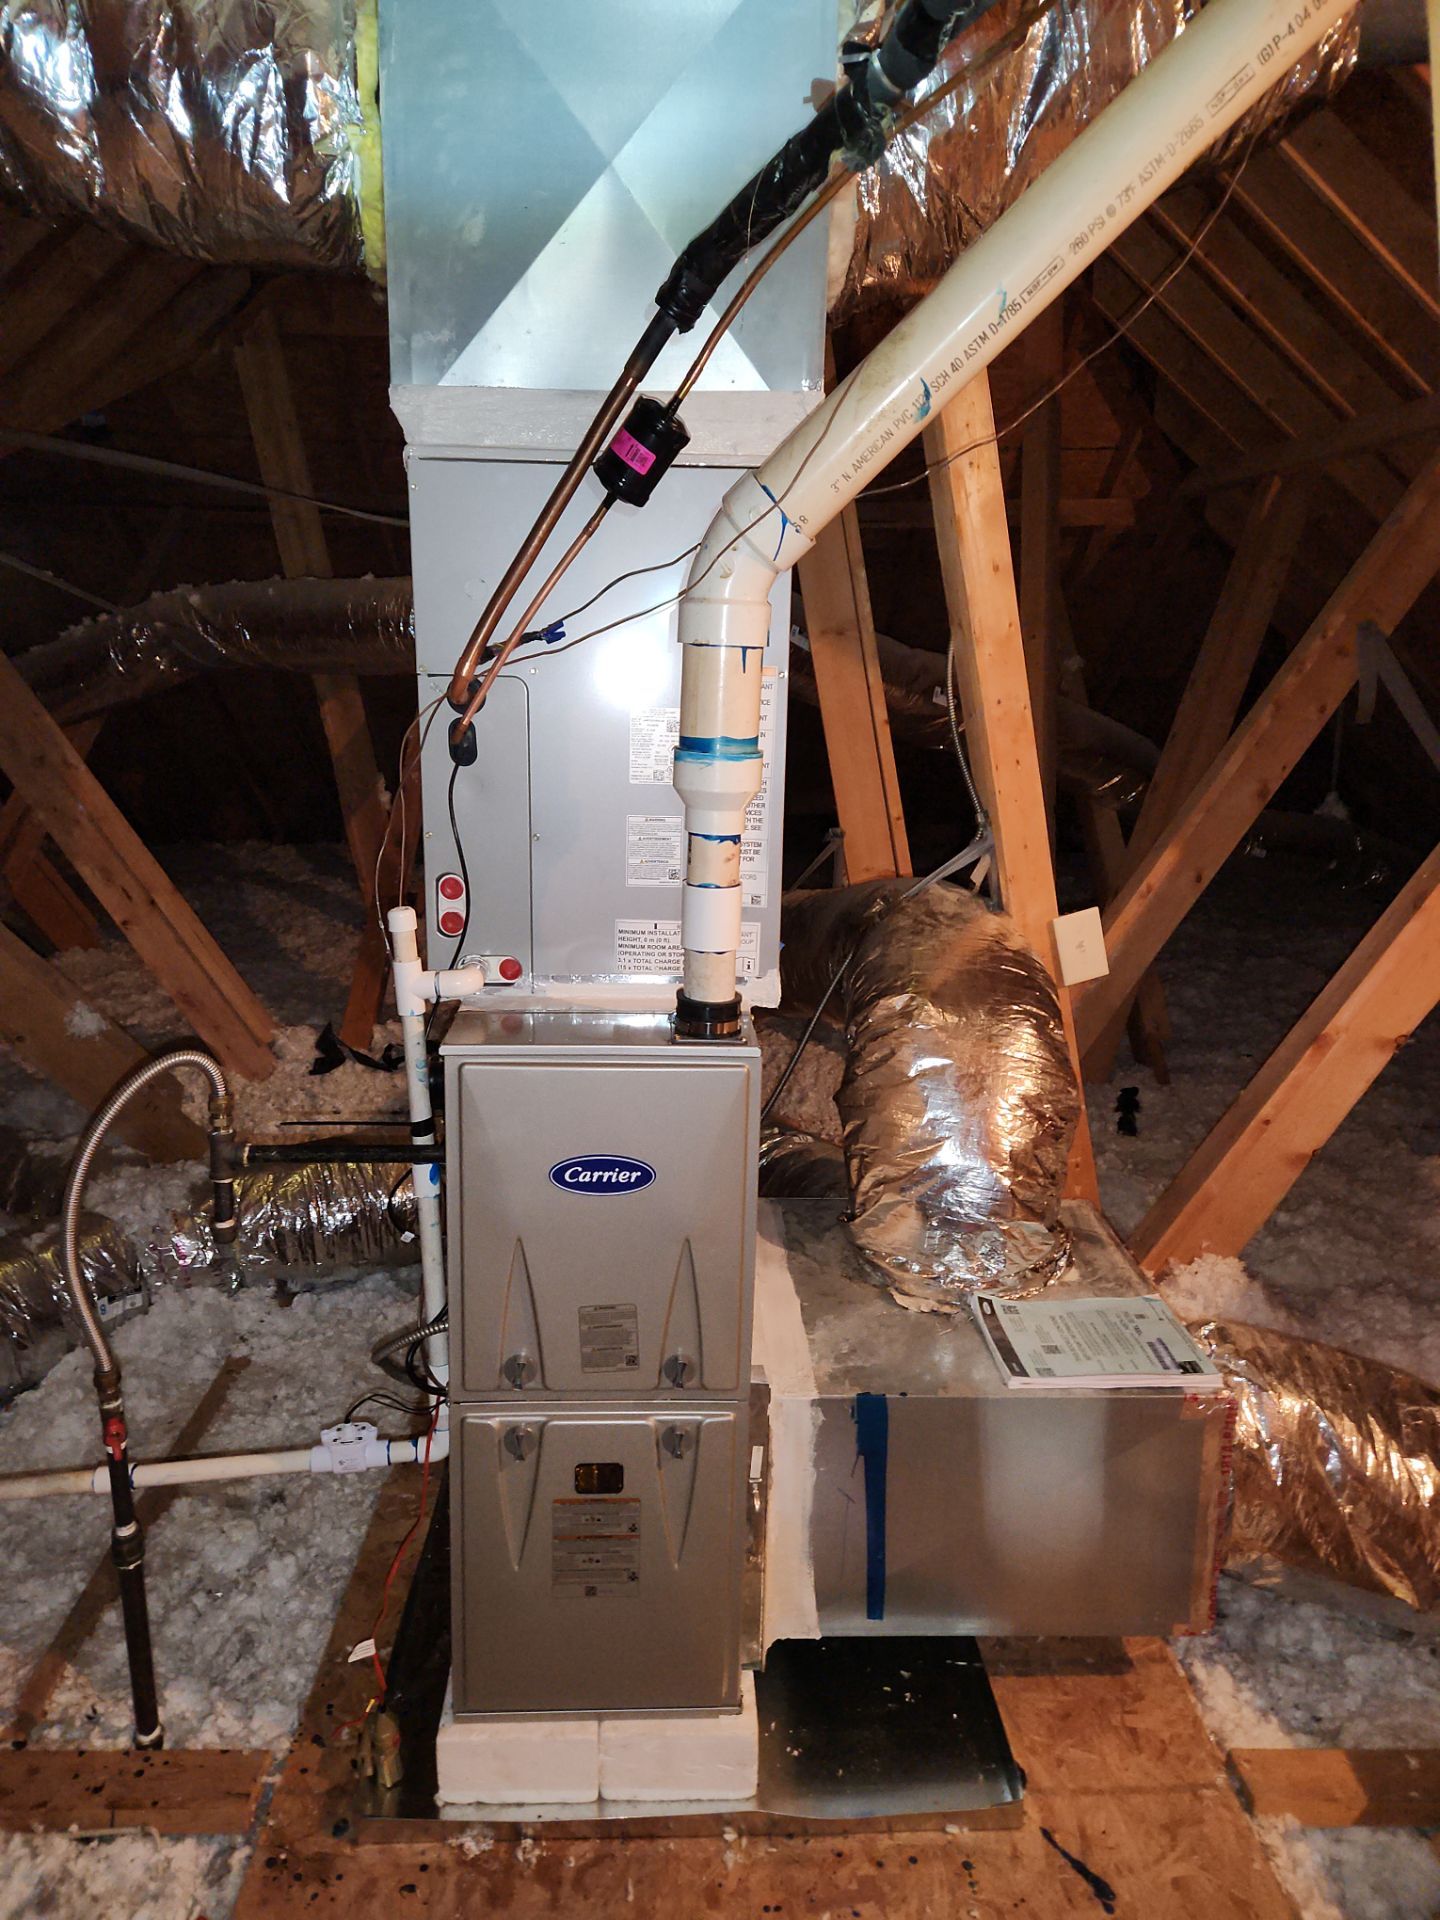
3. Install Carrier Furnace:
Ensure the furnace is installed with proper clearance, air intake, and venting according to the manufacturer's specifications. Keep the furnace level, and double-check all connections.
Don’t forget to connect the drain line to the furnace and ensure there are no kinks or blockages.
4. Install Evaporator Coil:
Position the evaporator coil carefully inside the air handler or furnace plenum. Ensure it's securely mounted and properly sealed around the edges to prevent air leakage.
5. Air Seal Blower Compartment:
Check the blower compartment for any leaks, and use a high-quality sealant around all connections and seams.
6. Install Metal Pan with Safety Overflow Switches:
The metal pan should be positioned correctly under the evaporator coil to catch any condensation. Be sure the safety overflow switches are wired properly to shut off the system in case of a water overflow.
7. Nitrogen Braze Copper Fittings:
Use nitrogen gas during brazing to prevent oxidation and ensure the copper lines stay clean. Braze the copper connections securely, and always check for leaks afterward.
8. Copper Pressure Test:
Perform a pressure test at 300 psi to make sure the system is sealed. Any pressure loss indicates a leak, and it must be fixed before proceeding.
9. Triple Vacuum Copper Lineset:
Perform the vacuum down to 500 microns. This is crucial to remove all moisture and air from the lines, which could otherwise affect the system’s performance.
10. Computer Charge Equipment:
Use a digital scale or charge meter connected to the system to ensure the correct refrigerant charge is added based on the manufacturer’s specifications.
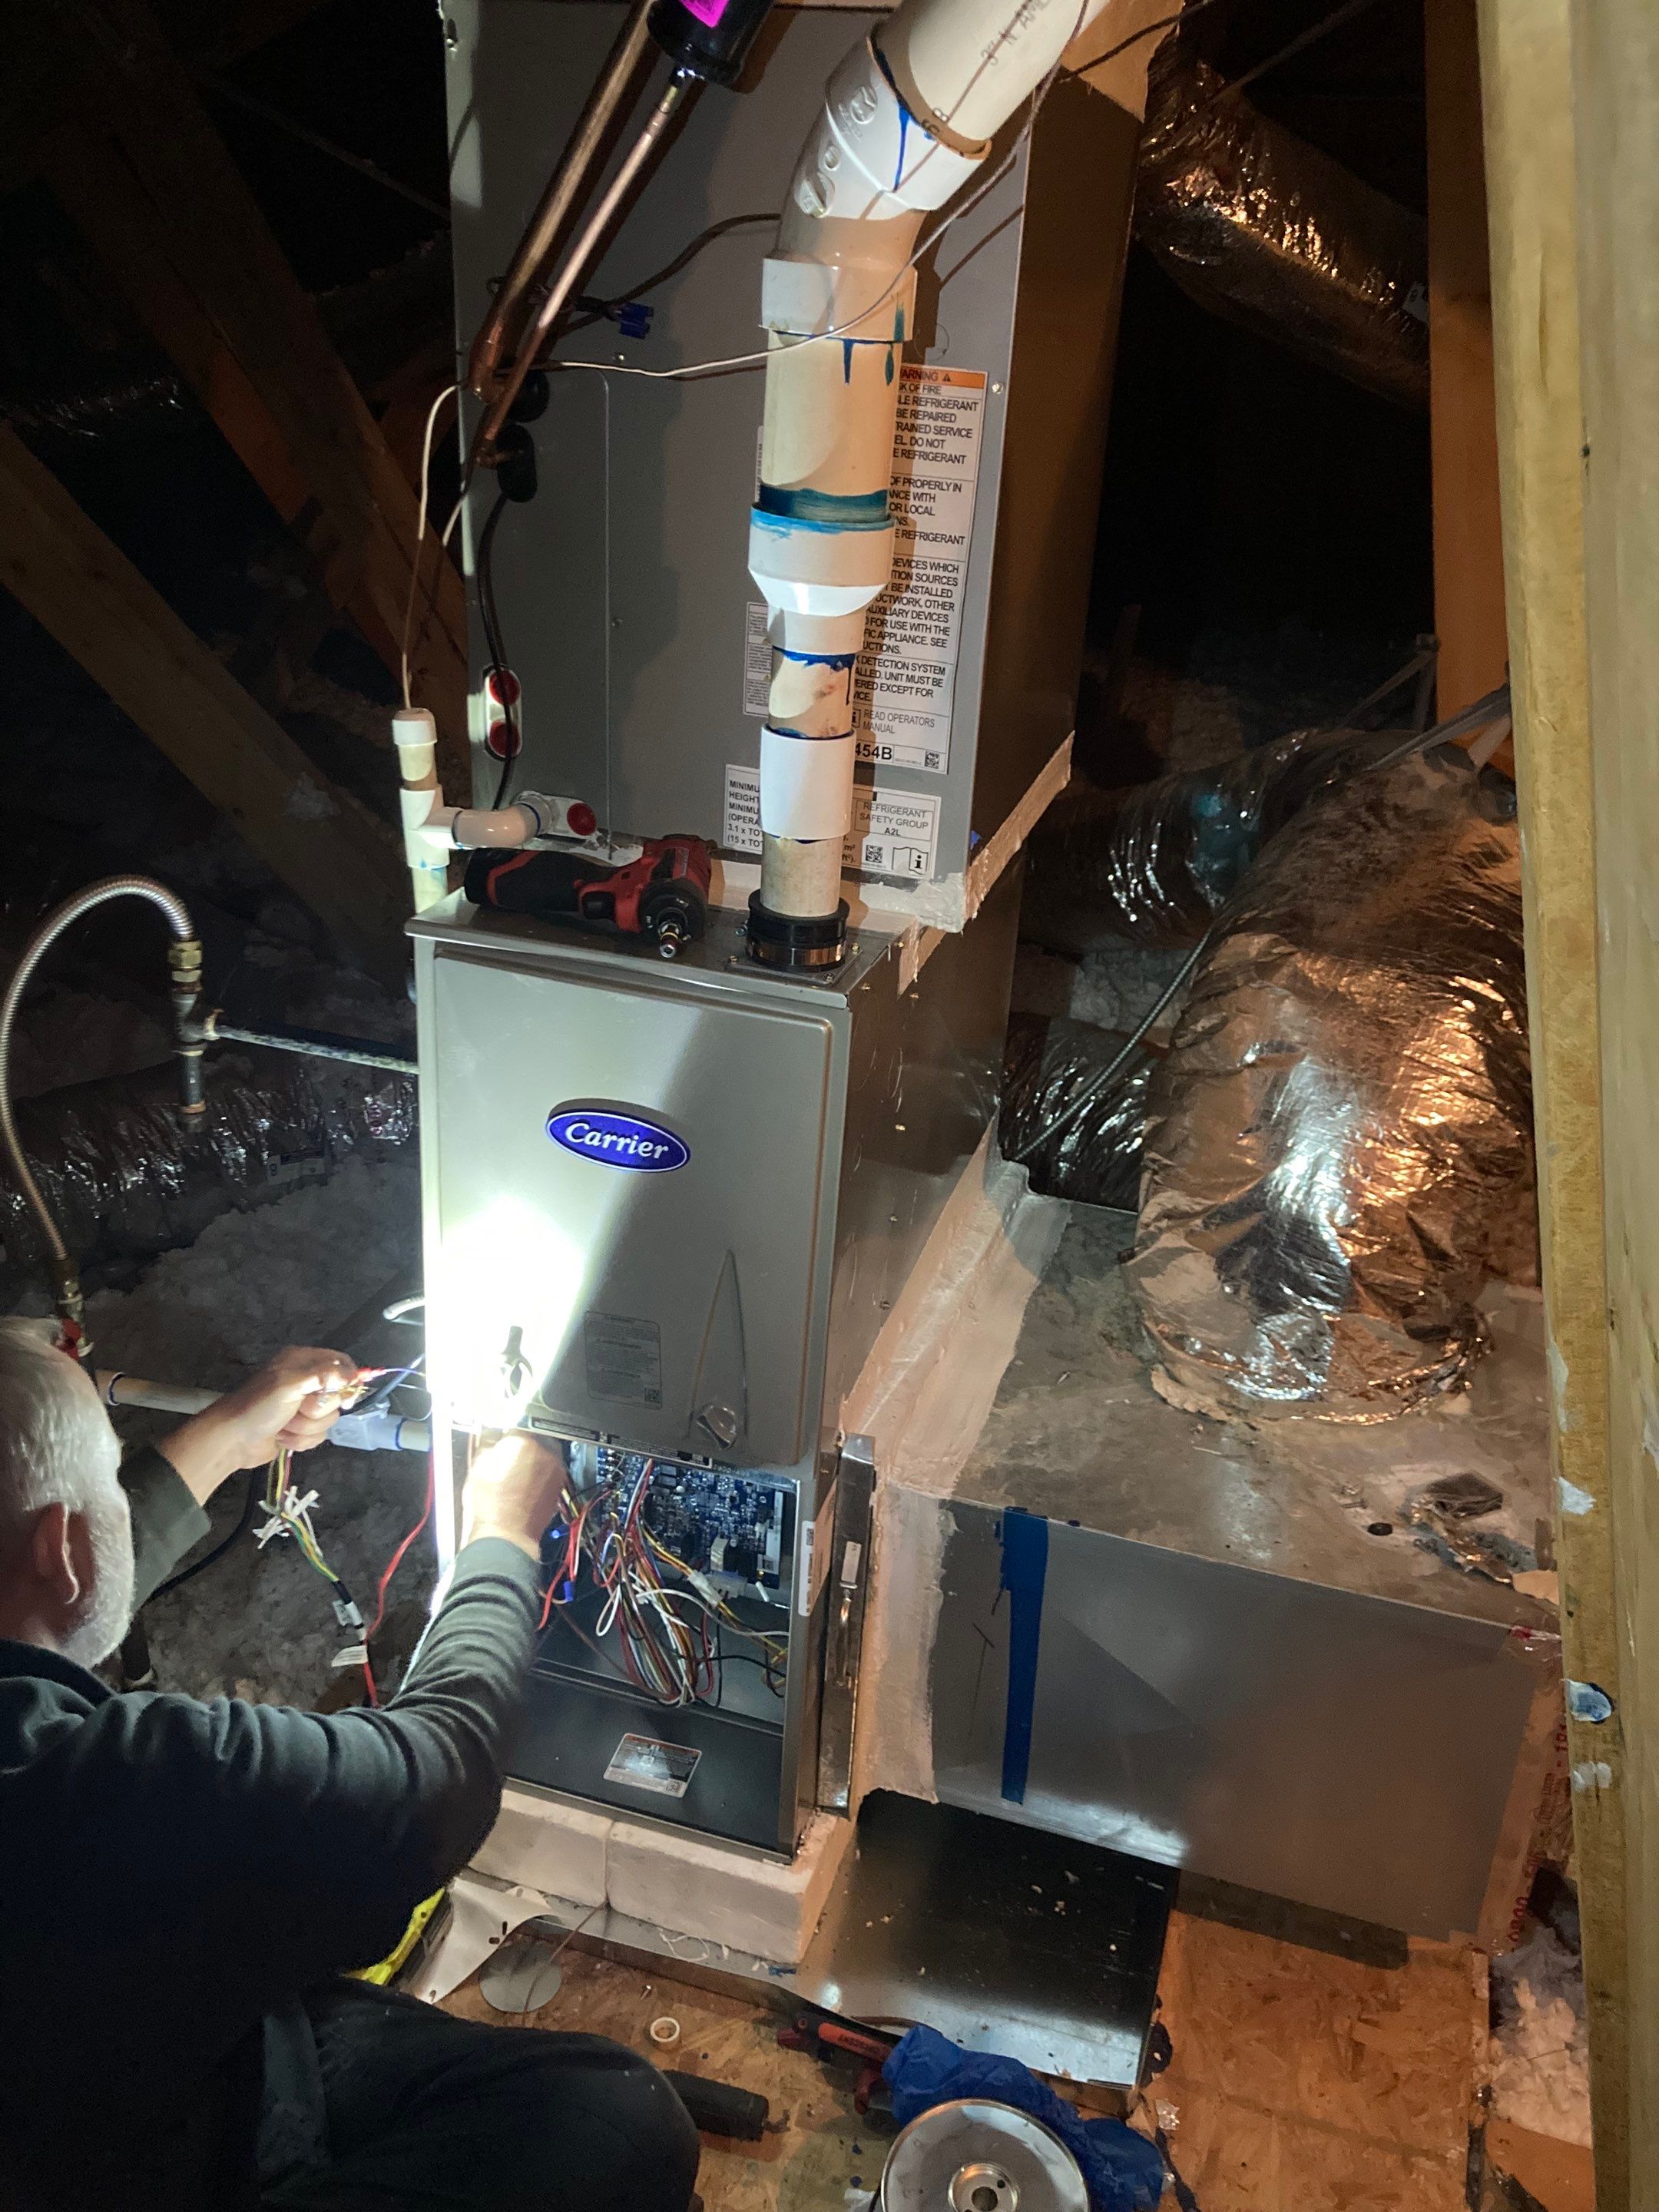
11. Commission the System:
Once everything is connected, do a thorough inspection and test the system. Check the airflow, refrigerant levels, and furnace operation. Confirm that all safety switches are functioning, and the system operates as expected.
Service provided: Heating Replacement
Location: Atlanta, GA
Project Image Gallery

Products Used
-
Carrier